

 Español
  Deutsch



Content
Introduction
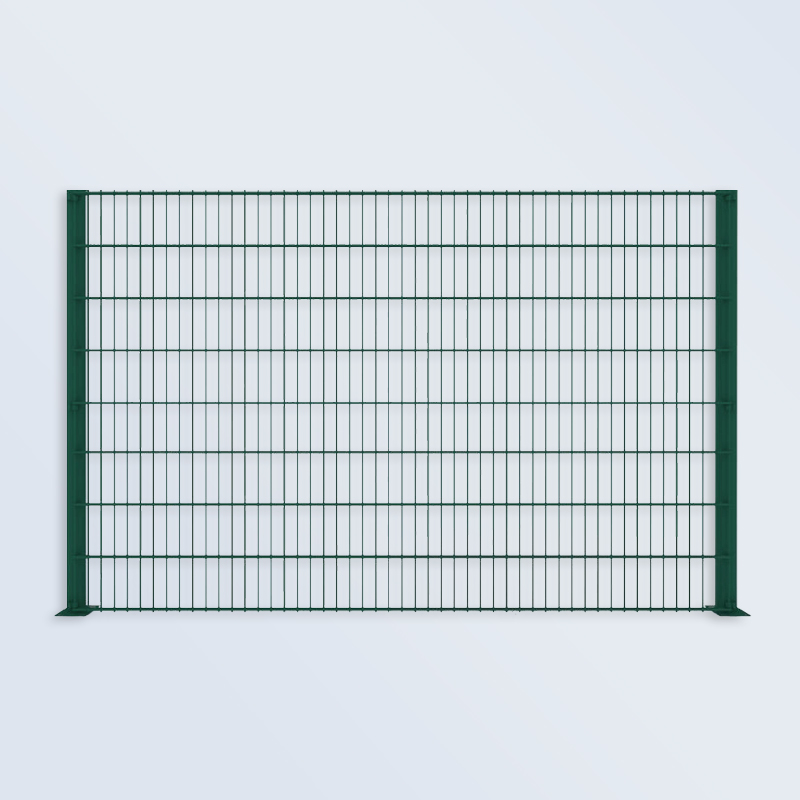
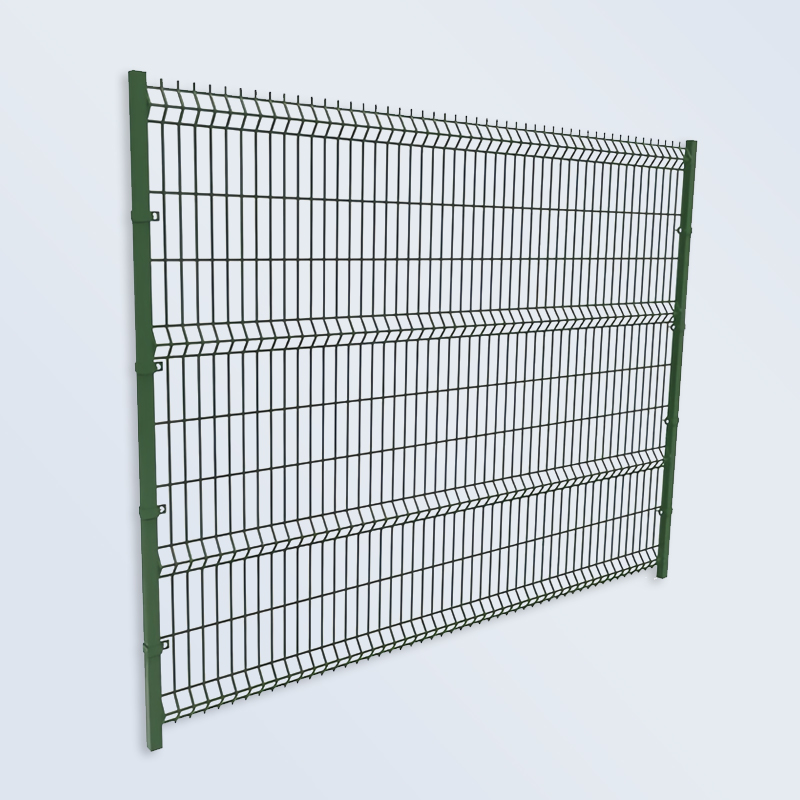
Privacy fence strips are one of the easiest ways to improve the appearance and functionality of double wire mesh fences. They increase privacy, reduce wind, and add a modern decorative touch without replacing the existing fence.
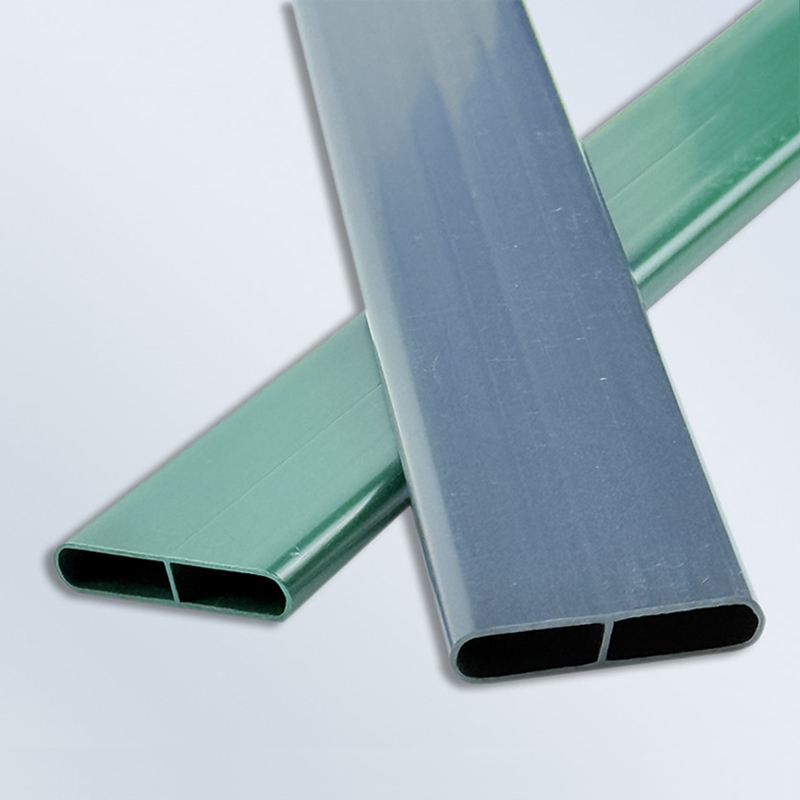
The installation process is simple and usually requires no special tools. Whether you are installing PP or PVC privacy fence strips, following the correct steps will ensure a clean appearance and long-lasting performance.
What You Need Before Installation
Choosing high-quality UV-resistant fence strips will help maintain color and flexibility for many years.
Step 1: Measure the Fence
Measure the height and width of your fence panel before opening the rolls.
Proper measurement prevents unnecessary waste and speeds up installation.
Step 2: Start Weaving the Strip
Insert the strip from one side of the fence and weave it through every second vertical wire.
Keep the strip flat while weaving to avoid twisting.
For embossed or textured products, make sure all strips face the same direction to achieve a consistent appearance.
Step 3: Keep Proper Tension
Do not pull the strip too tightly.
The material naturally expands and contracts with temperature changes. Leaving a small amount of flexibility helps prevent unnecessary stress during hot or cold weather.
Step 4: Secure Both Ends
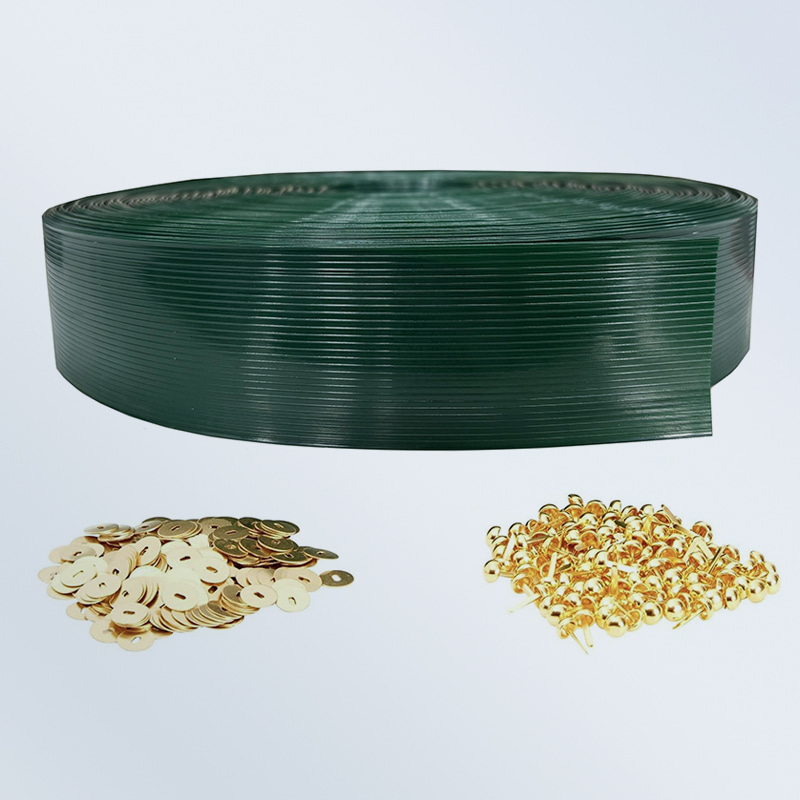
After weaving the strip completely, fix both ends using matching fastening clips.
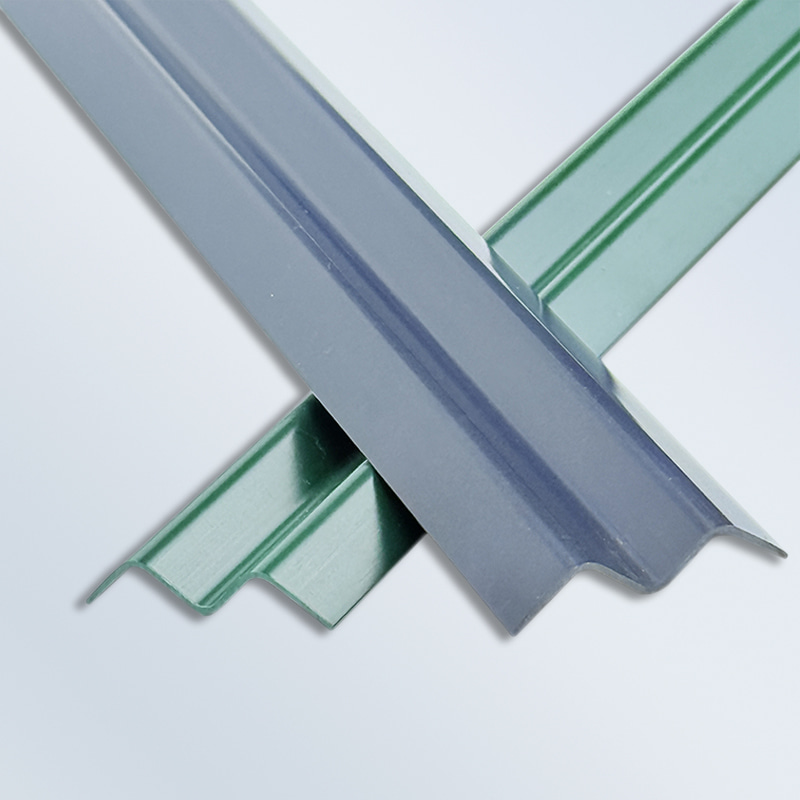
The clips prevent the strips from moving in strong winds and create a neat finished appearance.
High-quality clips made from UV-resistant plastic are recommended for outdoor applications.
Step 5: Repeat Across the Fence
Continue installing one strip at a time until the entire fence panel is completed.
Check alignment regularly to keep all strips level.
The finished fence should have an even and professional appearance.